
Most of us have recently participated in Zoom Meetings. How was the audio or video? Not good in most cases. Here’s how professional speakers use our experiences at the podium to get great Zoom audio and video.
Speaker Equipment Checks For Professional Speakers:
Arrive at the event site one day prior. Meet with the IT people handling the event in the actual meeting room. Check all computer/ projector hookups, audio, video and lighting. Make sure computer cords are long enough and compatible with your computer.
Often, no one knows how to adjust the ballroom lights or the person who knows isn’t on site. This is the time to learn and experiment with the optimum lighting settings.
Many times, you’ll need extension cords. All cords need to now be taped down.
Your requested a table for visual aids may not there. No one in IT was informed of this. Now is the time to get I in place, checking for the right size and appropriate tablecloth. Because these problems are addressed now, they can be corrected before the speech.
Never leave the presentation room until all above items have been addressed and corrected. This usually takes between 60 to 90 minutes.
On “speech day”, arrive 90 minutes before the start time. Check everything again. Don’t rely on the checks from the day prior. Instead review your slides, audio and video settings one last time before the audience arrives.
Oftentimes, someone from senior management’s office arrives less than 30 minutes before start time with a thumb drive. They want to insert a senior manager’s “opening remarks” onto your computer. Smile and say “no problem”. But stand next to them while they are uploading their presentation.
Note the new location of your presentation on the Desktop and make sure you can still easily and quickly access your presentation immediately after you’re introduced. Practice this a few times to be sure of easy access.
Zoom Equipment Check For Zoom Speakers:
Check in with your host one day prior to the event. Check your audio, video and slides with their system for compatibility and clarity.
Also check your room’s lighting, optimum screen placement and most effective background. I do my first pre-check several days prior with a family member. The feedback is painfully honest, which is good.
The second pre-check with your host is “fine tuning”. Focus proper computer elevation and your optimum distance from the computer camera. Use an adjustable computer stand for optimum elevation. A book stack also works. Audiences don’t want to be looking at your nasal hair or under your chin. And practice the Zoom switches.
Experiment with different lighting options to find your optimum setting. Soft lights on in front of you looks best and helps you avoid the “white washed” look.
Set up the best, most professional background in your home. Forget about using a background screen with you standing in front of the Golden Gate Bridge or on a beach in Hawaii. They look hokey and take away from your professionalism. Plus, whenever you move your head or arms, you’ll get “black-bleed” from those backgrounds.
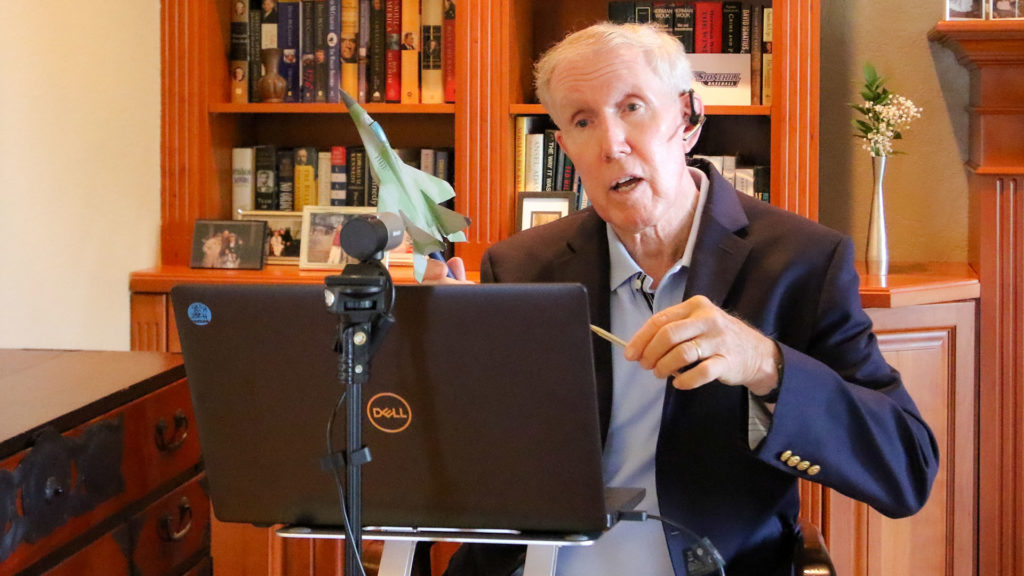
A computer camera is ok, but not nearly as effective as a cam recorder. Buy one from Amazon along with a camera stand and mount it slightly above your computer camera. Download the Zoom app onto your laptop, tablet and phone.
Computer generated audio is average. Buy a cordless microphone system and download it onto my computer. Your transmissions will dramatically improve.
Upgrade your internet system to provide as much additional power as you can afford. When the Zoom host image freezes or the speaker’s audio comes across as broken, many times that’s due to the speaker’s poor internet connection.
Check in with your Host 15 minutes prior to the start of your event. It’s much better to be waiting a few minutes for your Host to check in the attendees rather than trying frantically to check I just prior to start time.
Our next session will discuss the second secret: Your best appearance.


